This is part of my latest restoration project, a 1972 Kawasaki G5 100 enduro. Like most of my personal vintage motorcycle projects, this will be a full frame-off restoration.
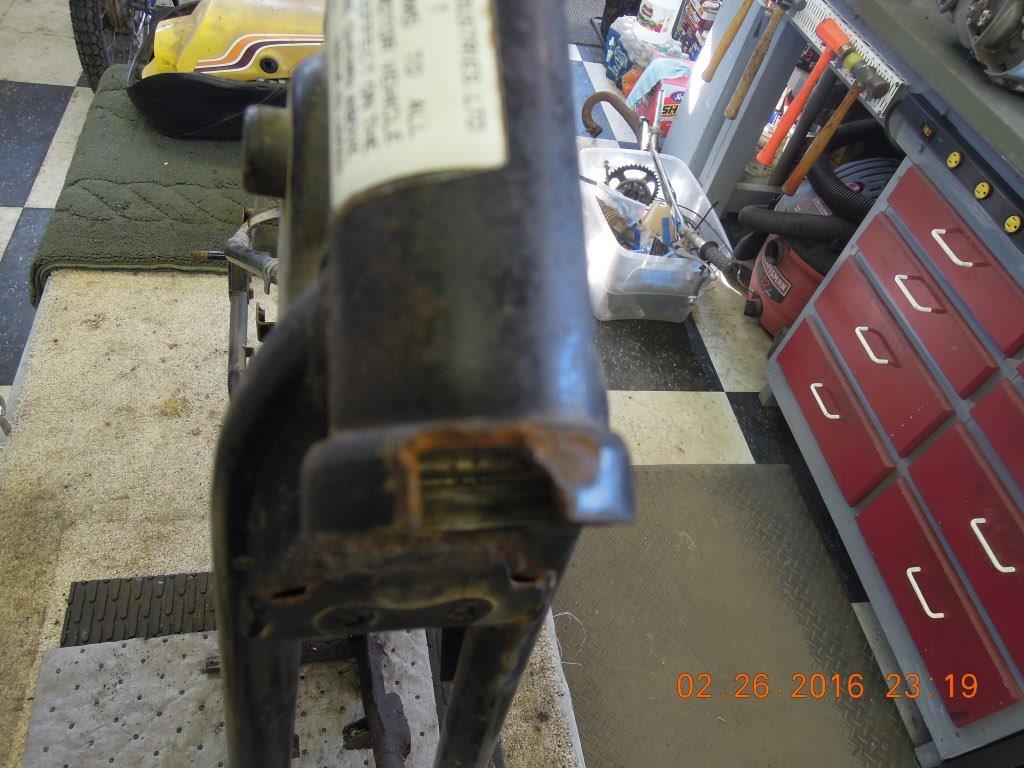
One of the issues I discovered while breaking down the G5 was the steering/triple tree stop was broken off which allowed the handlebars to rotate too far side-to-side. This resulted in two serious dents on each front side of the fuel tank, which will also have to be eventually repaired. I’d guess that a teenager stuffed the bike into a bank or took a very serous spill, which twisted the handlebars with significant force. This broke off the welded-on steering stop from the front down tube. The weld didn’t fail, the metal from the down tube actually tore away, which can be seen in the one photo below.
This particular sub-project was to repair the damaged front down tube where the metal was missing and fabricate a new steering stop. Since I didn’t have the original stop to use as a pattern I had search on the Internet for photos I could reference so I knew what the original stop looked like. Once I found a couple of photos, I knew the general shape and location of the stop, but had to estimate the size and scale to dimension the new fabricated stop.
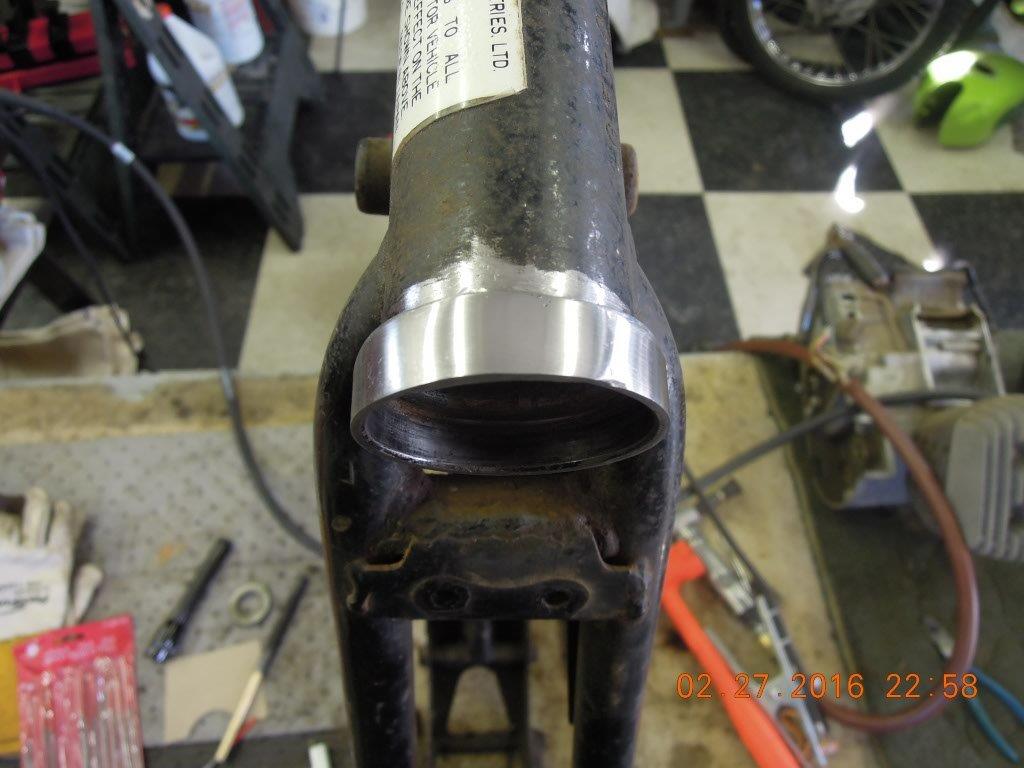
I began by squaring off the damage section of the down tube with a Dremel cutoff wheel and used a piece of 1/8” thick scrap steel to shape a replacement filler piece. I left the lower steering stem bearing race in place to use a a reference and guide as this would serve as the perfect means to ensure the inside of the patch was perfectly aligned with the rest of the down tube. I MIG welded the patch in place, and ground it back smooth, then made a gauge from card-stock from the good section of the down tube. I used this gauge to make sure as I ground the repair I matched the shape and curvature of the rest of the down tube.
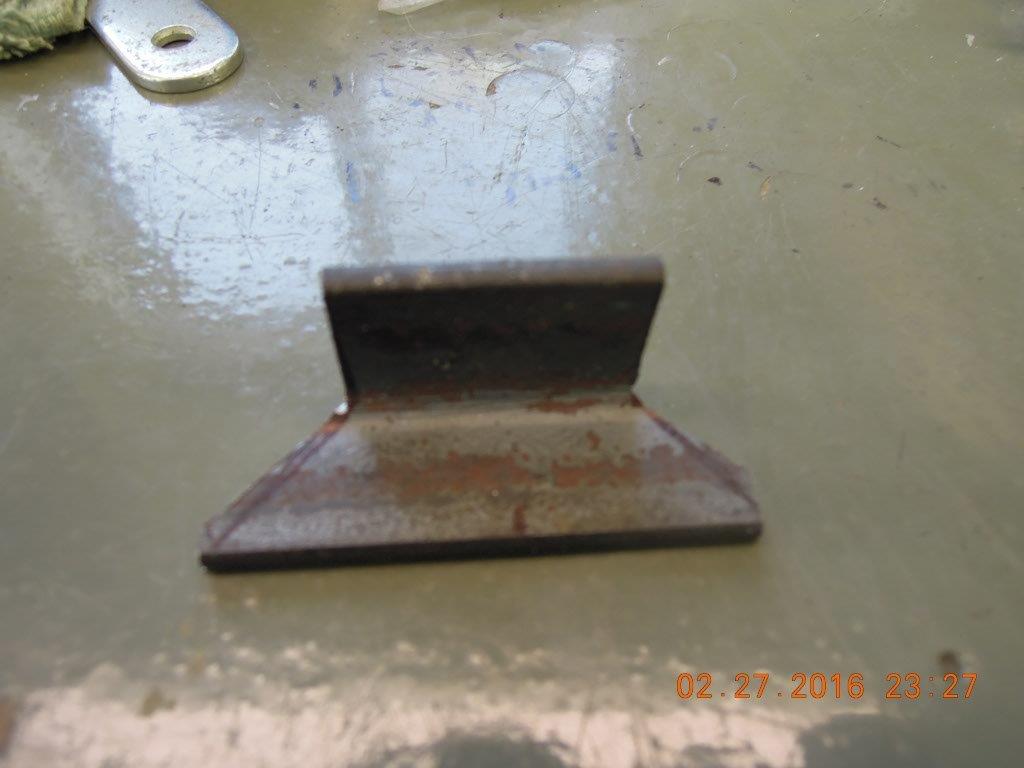
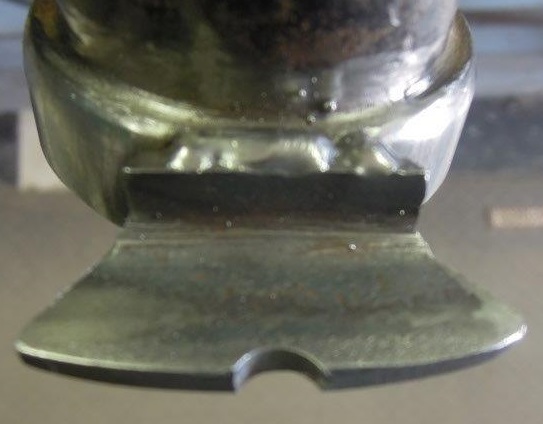
I used 1/8” 90 degree angle steel available at any hardware store as the basis for fabricating a new stop. I rough cut the general shape I wanted, first making a pattern from card-stock. I finessed the stop shape in the bench vice with files, carefully clamped it in place on the down tube, then tacked welded it in place. I then went and took my time finish welding so the parts wouldn’t shift from the heat.
This was a fairly time consuming repair, total time from start to finish was close to five hours, as I took my time and didn’t rush the welding to avoid overheating the metal. Once the frame is powder coated, I seriously doubt anyone will know this was repaired.
I’m quite pleased with the way it turned out.